
Well, I passed my Level One AECP so we are on to Level Two! I have ten courses to complete for this level as well and I chose to start with “Beyond Basic Backgrounds”, taught by the lovely Lydia Evans. There were six lessons in this course and all of them had excellent ideas about how to bring your backgrounds to another level.
For my submissions, I focused on lesson 3 and lesson 5. My first card showcases the technique taught in lesson 3, foiling without a laminator or foiling machine.
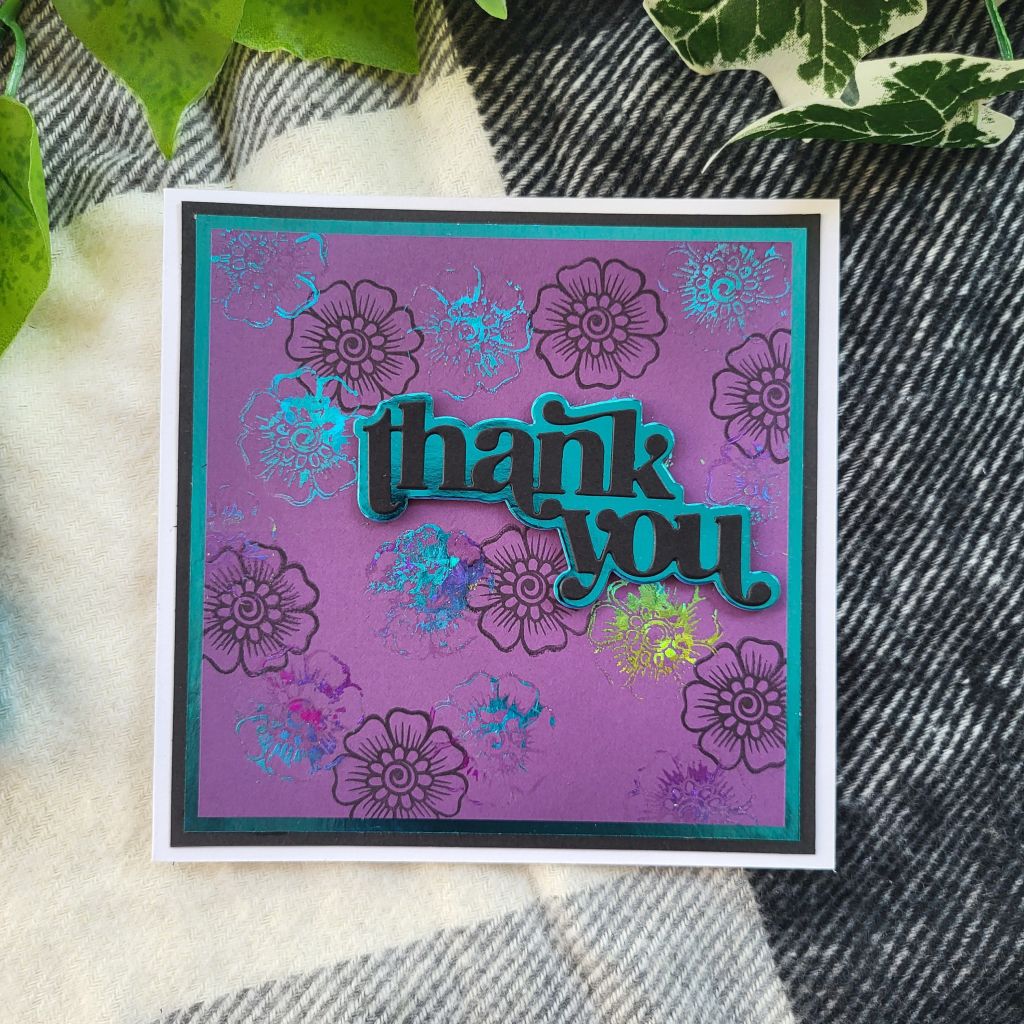
Starting with a piece of purple cardstock, I stamped the smallest flower in the Hennah Elements stamp set using a foiling glue. The lesson called for using Versamark, or another sticky ink, and bonding powder but since, I didn’t have that on hand, I chose to use a slightly different method. One of the issues with using glue is getting a nice crisp image, which I did not do here but I really liked the final result. Once my glue was dry, I rubbed my foil over the glue stamps. The foil I used was rainbow foil from iCraft.

I then stamped the same flower on the card, filling in some of the bigger blank areas, with Versafine Clair Nocturne.
The sentiment is from the Timeless Sentiments die set and I cut the words out of 110 lb. black cardstock twice and glued them together. The shadow was cut out of teal mirror card. The sentiment was popped up with black foam tape.
The completed card front was mounted on teal mirror card and then on black cardstock before being mounted on the white card base. It’s all very shiny!

My second submission focused on Lesson Three, which was about water bleaching. Many card makers have used water spots on water reactive inks but this goes a step further and uses water on stamps to remove the ink from an ink blended background.
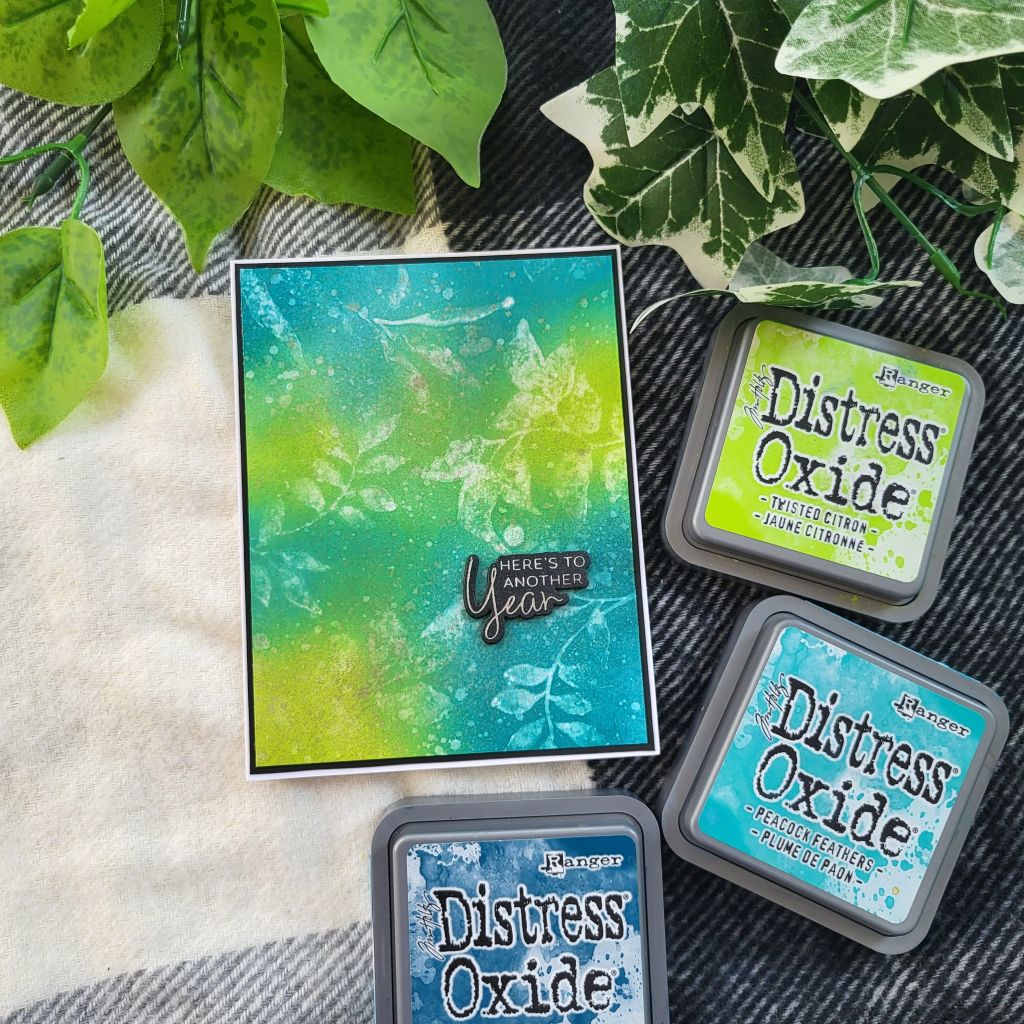
For this card, I used the Leaf Clusters stamp from Altenew.

I ink blended the panel with Distress Oxides in Peacock Feathers, Twisted Citron and Uncharted Mariner. I then placed the dried panel on my stamping platform as I knew it would take several tries to bleach out as much colour as I wanted. I dabbed the stamps with a slightly wet sponge and stamped onto the panel (I held them down for a few seconds each time to allow the water to penetrate the ink). Most of the images took about 5 stamps to get to the level of bleaching I was looking for.
Before adding the sentiment, I sprayed the whole card lightly with the new Distress Spritz in Twisted Citron to give it a little extra pizzazz.

My sentiment for this card is a Spellbinders BetterPress plate and die set called “A Little Message Sentiments” which was cut out of black Betterpress cotton paper and black foam to give it more dimension.
Some key points from these 2 lessons:
- Be patient with the water bleaching. Leave the stamp on the paper for a few seconds extra and be prepared to do it multiple times.
- You don’t need a laminator or a foiling machine to get those beautiful metallic accents on a card. A little glue or bonding powder will do the trick. In a pinch, even double sided tape will work for straight line metallic accents.
I will be away for the next couple of weeks camping with my grandkids (I have a stash of craft supplies in case they get bored) so I won’t be posting until after I get back. In the meantime, enjoy your summer!

Leave a reply to ArtUnwound Cancel reply