

Here we are on my 5th class for the level 1 certification. This was Easy Ink Blending Techniques, taught by the lovely Amy Lee.
Ink blending is something I was already really familiar with. Before I jumped into the Altenew world, it was a major part of many of my cards. I did a lot of ink blended backgrounds or added ink blending around the perimeter of a card to focus attention on the main subject.
Here is an example of an ink blended background I did for the class.
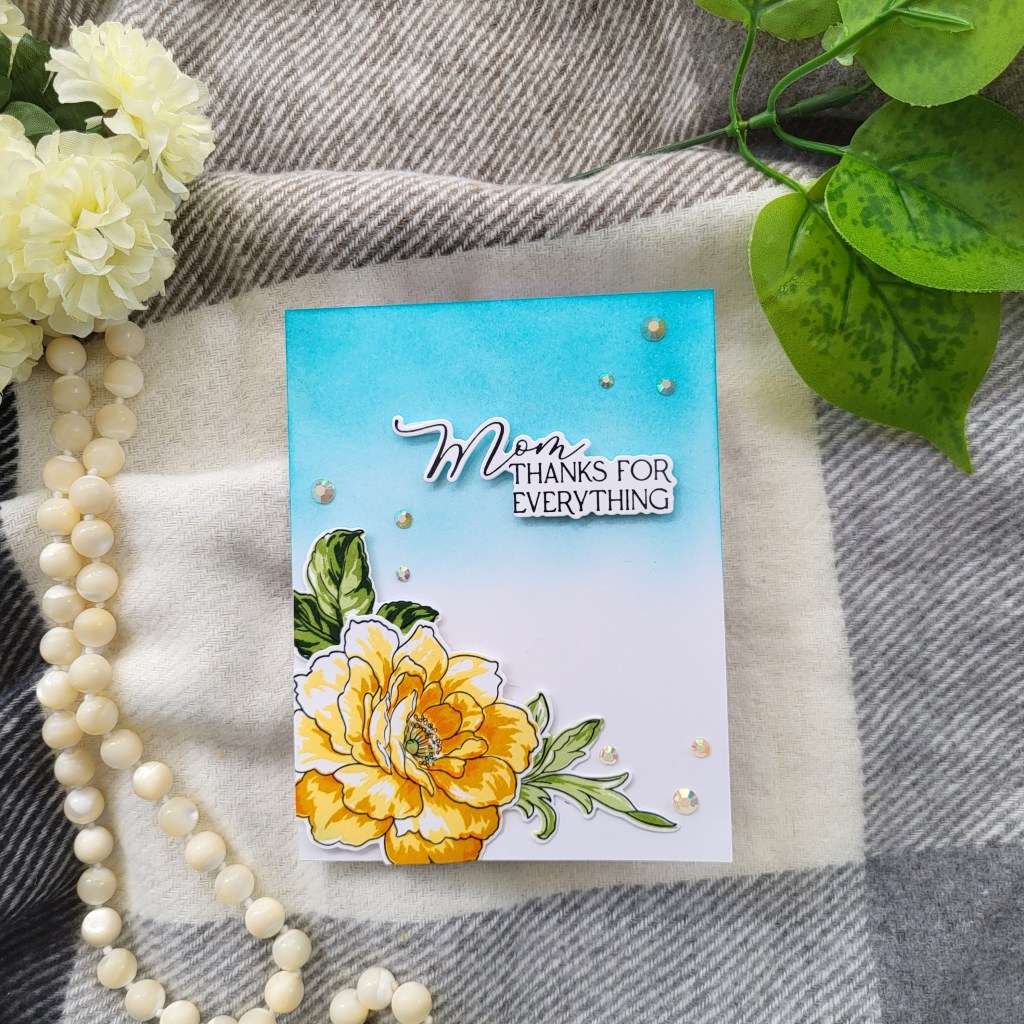
This is a simple, single colour blend using Teal Cave Fresh ink from Altenew. The flower is from the Beautiful Day set. I mounted this directly on the card base (No matting? What??) and added some yellow gems for interest.
The next card was a little more complicated. I wanted to do the Emboss Resist technique from one of the lessons (I believe it was lesson 4). I used the Patchwork Tiles stamp set to stamp a pattern in Versamark and then heat embossed in clear.
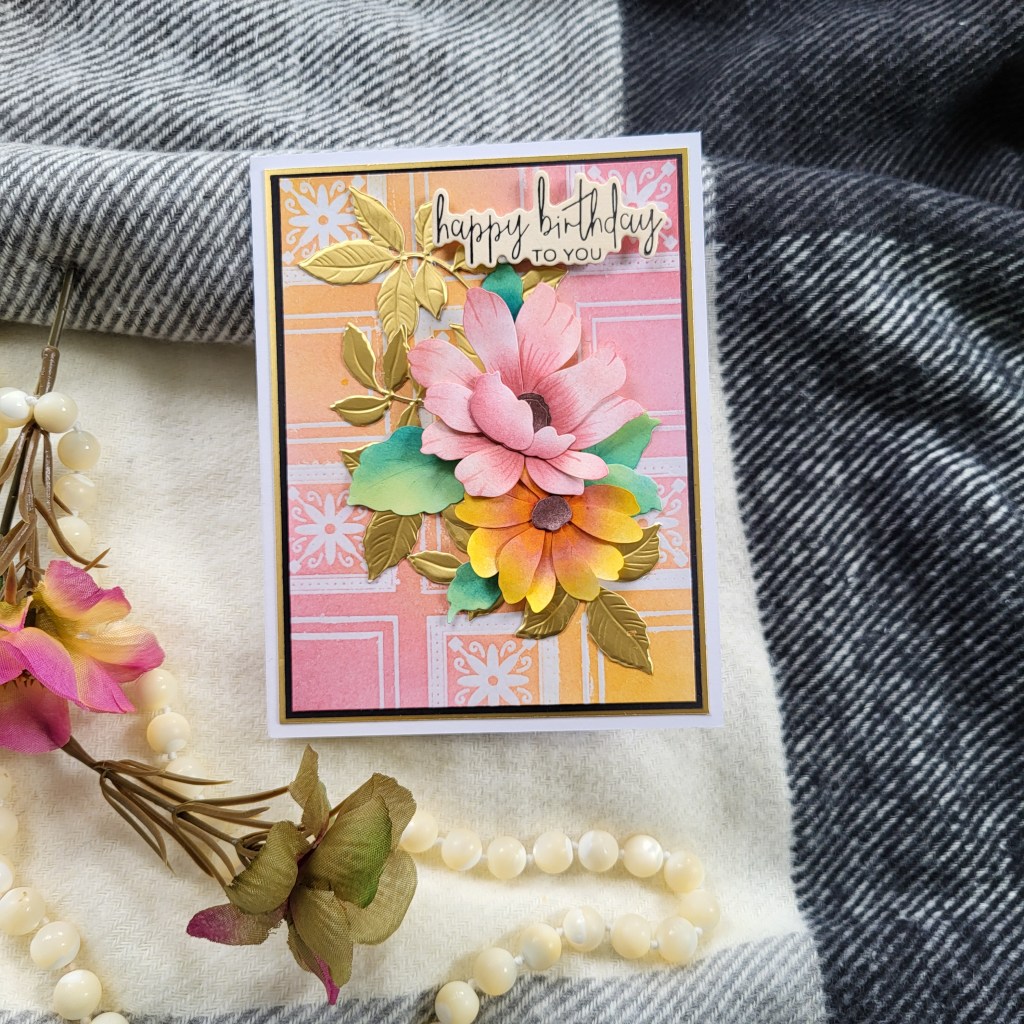
I blended Rose Blush Fresh ink over the whole panel and then blended Lemonade Stand Fresh ink over the centre of the panel diagonally to create a peachy tone. The flowers from the Fresh Flowers die set are also ink blended. The flowers are popped up, as is the sentiment. This one was double mounted (to make up for the other one I guess) on black and brushed gold.
I am really happy with how both of them turned out. Ink blending is a great technique to have in your “toolbox” as you can create pretty much any colour you want. I have used ink blending to create coloured cardstock to match something I am working on when I can’t find the right colour.
One of the keys to good ink blending is good tools. Having good blending brushes can make all the difference in the world.

Do you have favourite brushes to use for ink blending?
As always, drop me a note if you like. See you next time!

Leave a comment