
So I recently got accepted to the Altenew Educator Certification Program and I am very excited about it. That means I am currently taking a bunch of classes to learn new techniques for card making, using Altenew products. They have a great line of florals especially and an interesting system for layering of stamps that creates some really beautiful effects.
There are 3 levels to the certification, with 10 courses each in level 1 and 2, along with a final challenge for each level. I am currently on level 1. Level 3 has 5 courses to complete and a final challenge to teach a workshop.
I will be posting my assignments, along with some details on the process and what I learned in the course that I have applied to my project. Since I am not a brand new card maker, some of the courses may not have a lot of “new” ideas for me, but I have found that you can always learn something new from a class/course, even if you don’t think you will. I used to teach tole painting many moons ago, and I often felt like I learned more from my students than they did from me. The key is to remain teachable.
While I will be showcasing my assignments in some of my posts, I will also share some of my other work, along with some tips and tricks where applicable as seems appropriate.
If you have never worked with layering stamps, here are the basics using the Celebrate Us set as an example.
- You first stamp the outline stamp (Flower stamp 1) in the colour of your choice.
- Then, choose the lightest colour you want your flower to be, and line up Flower stamp 2, using the registration marks included with the stamp set and stamp that colour.
- Again, lining up with the marks, use your darker colour to stamp with Flower Stamp 3.
- Choose a colour for the flower centre and stamp that after lining up the correct area.
- Choose a colour for your leaves and using Leaf stamp 2, carefully line up the stamps and stamp your colour.
It takes some practice to get the stamps lining up correctly, but the clear polymer definitely helps make it easier.

Here is the first assignment from the All About Layering 3 class.

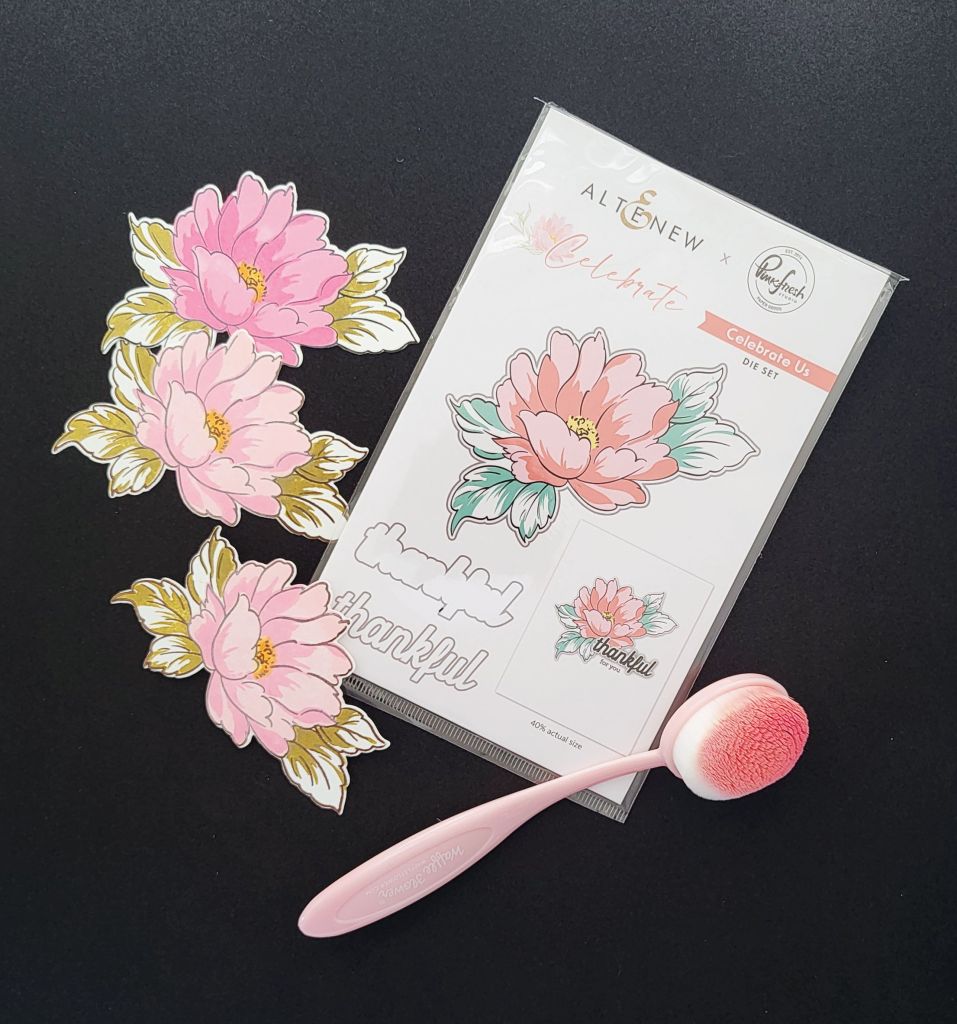
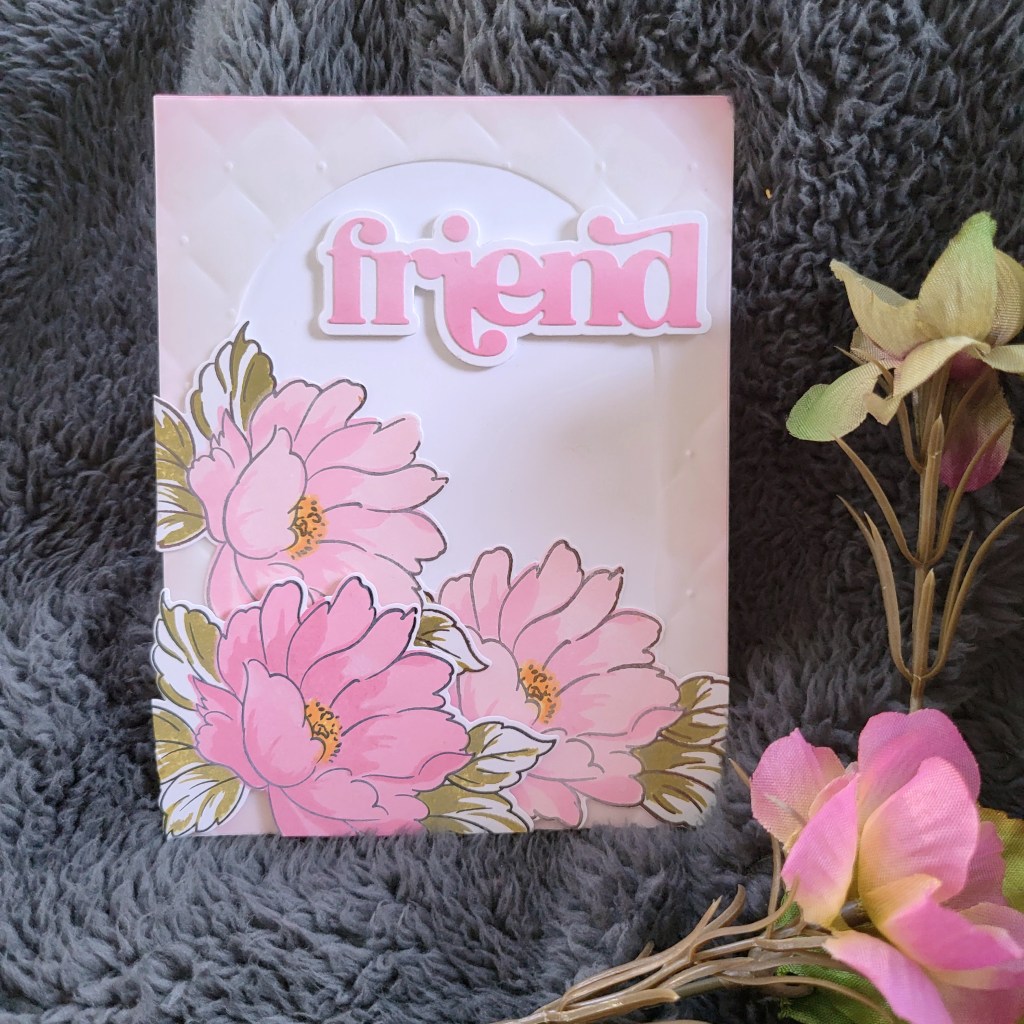
Using the “Celebrate Us” stamp and die set, I created the flowers with Distress Oxide inks in Spun Sugar, Kitsch Flamingo and Picked Raspberry with Forest Moss for the leaves. I inked up the edges of a piece of white cardstock using Spun Sugar and then layered a piece of embossed vellum with an arch cut out on top of that. The top flower has been popped up with foam tape, as has the sentiment (from the Timeless Sentiments Die set). Remember when using Distress Oxides that it’s a hybrid ink that is more opaque than regular dye inks so you may lose the crisp lines of the outline. You can always go back and redo the outline stamp but it can be challenging to get it lined up correctly, even using a stamping platform.
The course had some really interesting points, and since I had never done layered stamps before, it was a learning experience. Not only does the layered stamp add visual interest and dimension, but using foam tape or pop dots to create physical layers adds extra dimension.
There are a lot of ways to use the layered stamps and since I only had the one set of layering stamps, I had to be creative with my projects so they didn’t all look the same.
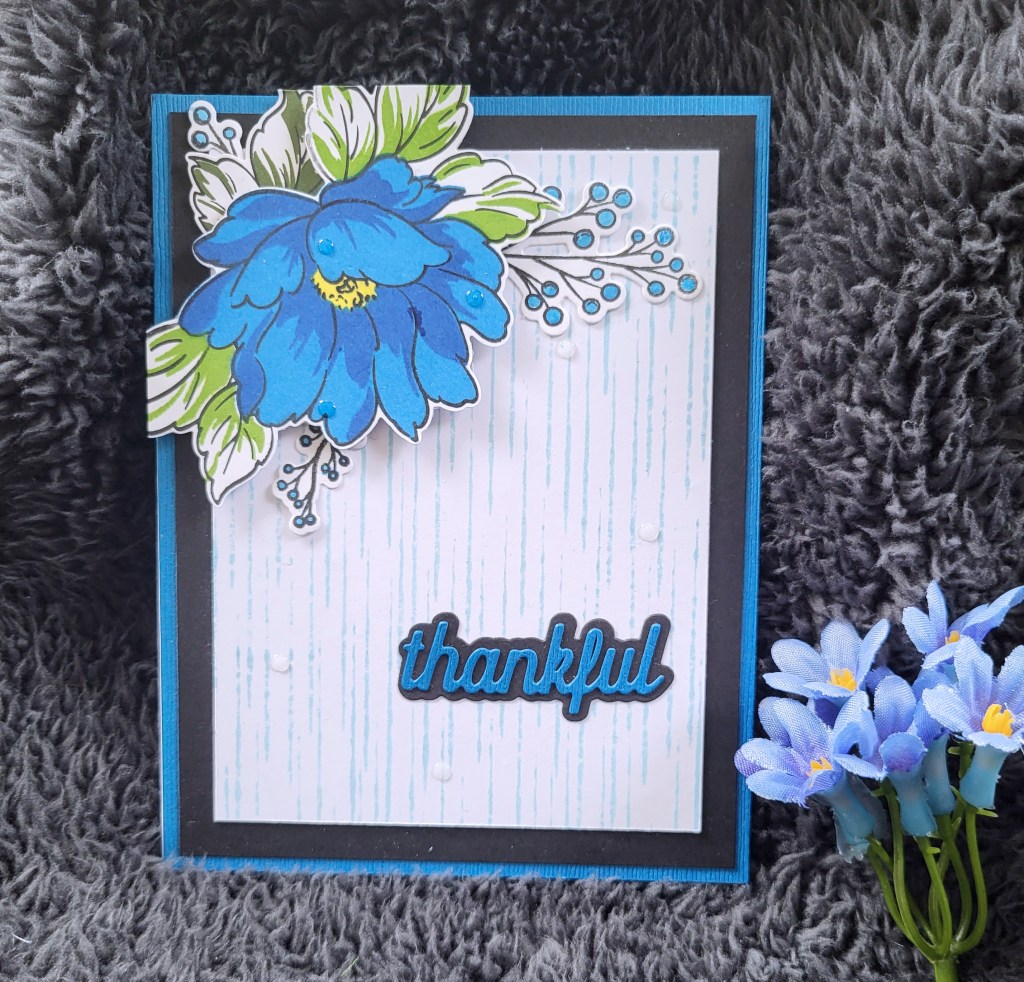

For the second card, I used a background stamp of rain to create some interest and finished the card off with some glossy accents to simulate raindrops on the flower and the background. I inked this one using Versafine Clair inks in Paradise and Bluebell and you can see that the black lines of the outline stamp are very clear. I also added some additional greenery with the “Berry Leaves” stamp and die set, and popped up the flower. Finally, I double matted the card with black and a beautiful blue and added the sentiment from the “Celebrate Us” set in the same colours as the matting.
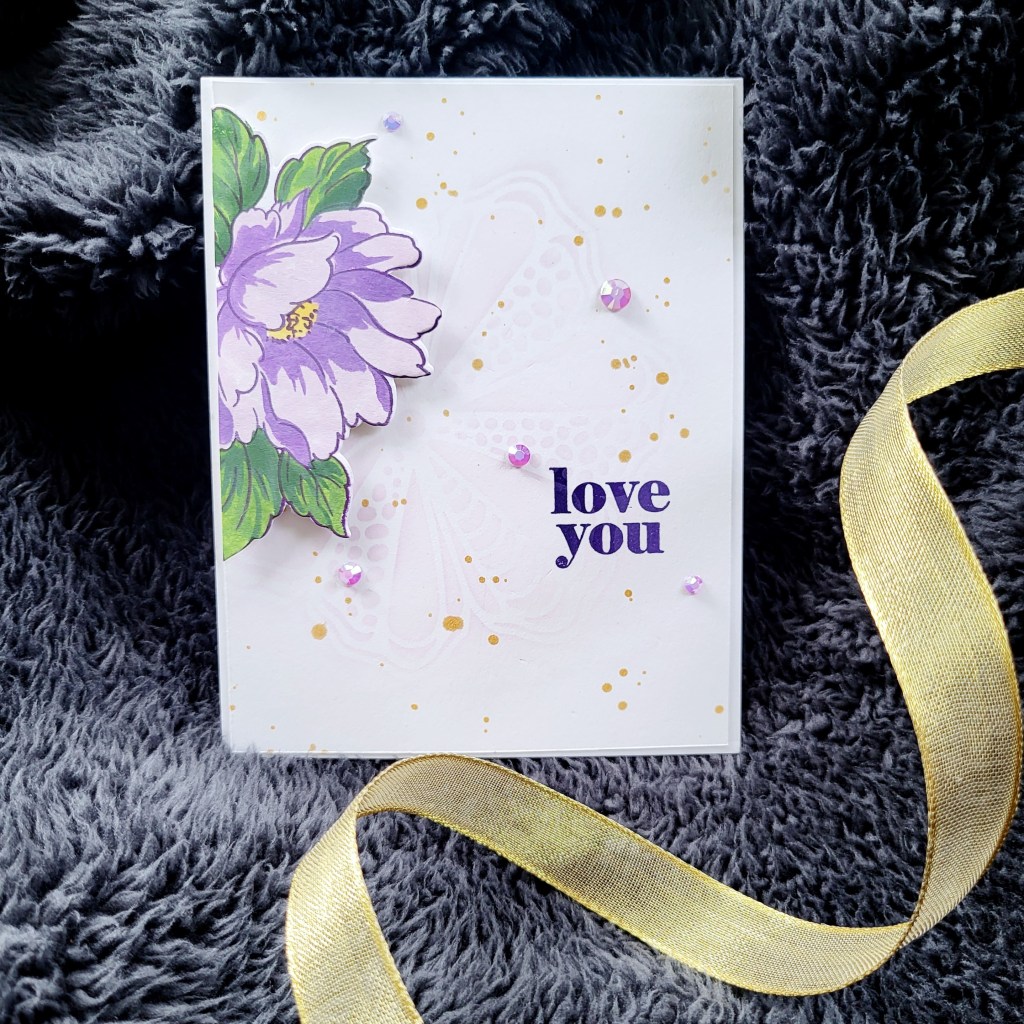
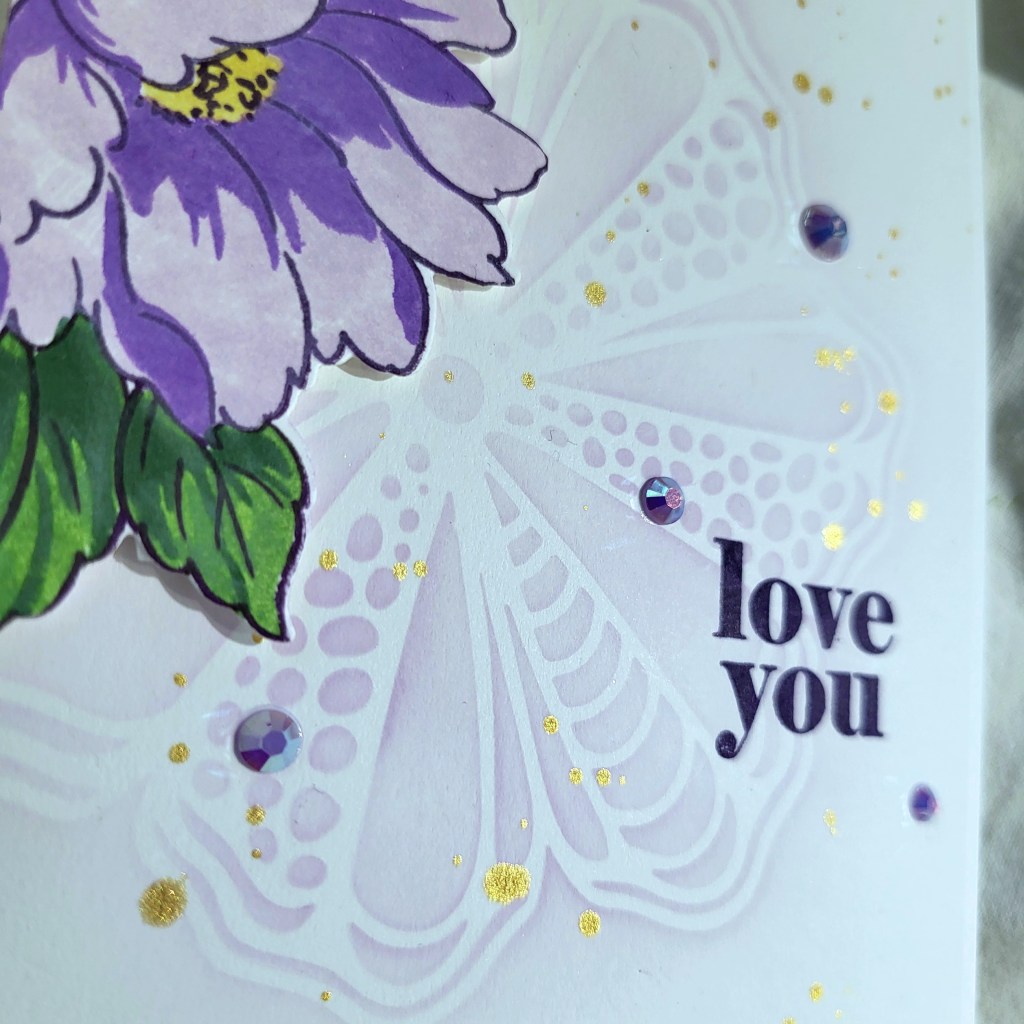
The final card I created for the All About Layering 3 class used a lightly stenciled background and finished off with some gold splatters and some gems to bling it up a bit. I used Distress Oxides in Milled Lavender and Wilted Violet and the outline stamp was stamped with Versafine Clair Monarch. I stamped the sentiment (from Paint A Flower – Modern Pink Dianthus) with Versafine Clair Monarch to stick with the purple theme. Sometimes simple is a good thing.
Have you used layering stamps before? How did you like them? Please let me know your thoughts, and if you have comments about my cards, please let me know them as well. Constructive feedback is always welcome as it helps me grow.
Next up is Clean and Simple Boutique Cards. See you then!

Leave a comment